guywithbike wrote:
I know this has been done before, but I took a few pictures to help the folks who are more visual learners.
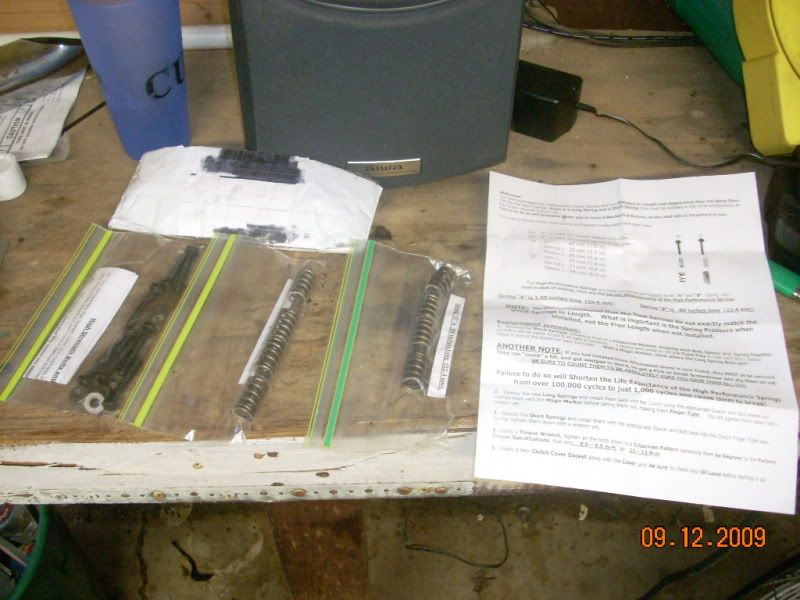
This is how my kit came. Very nicely packaged with instructions and important details.
First you'll need to drain your oil. I also removed my oil filter and put a new one on.
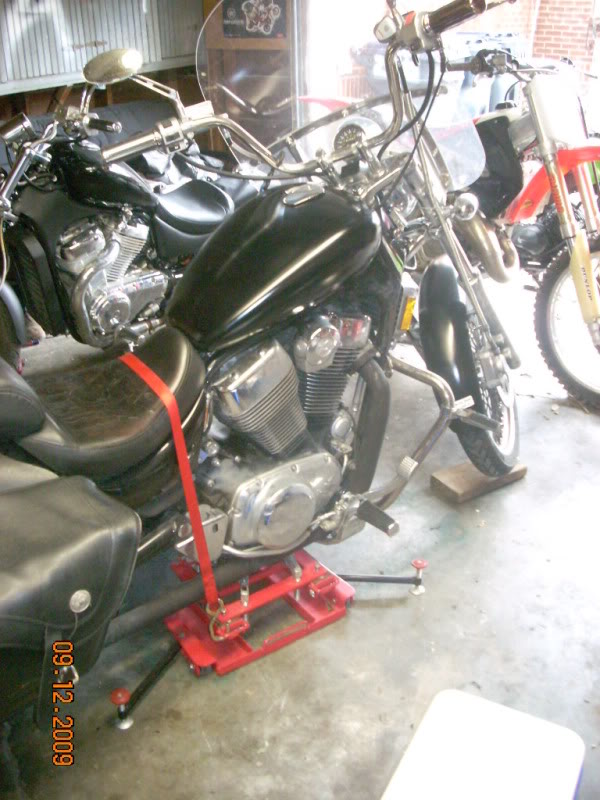
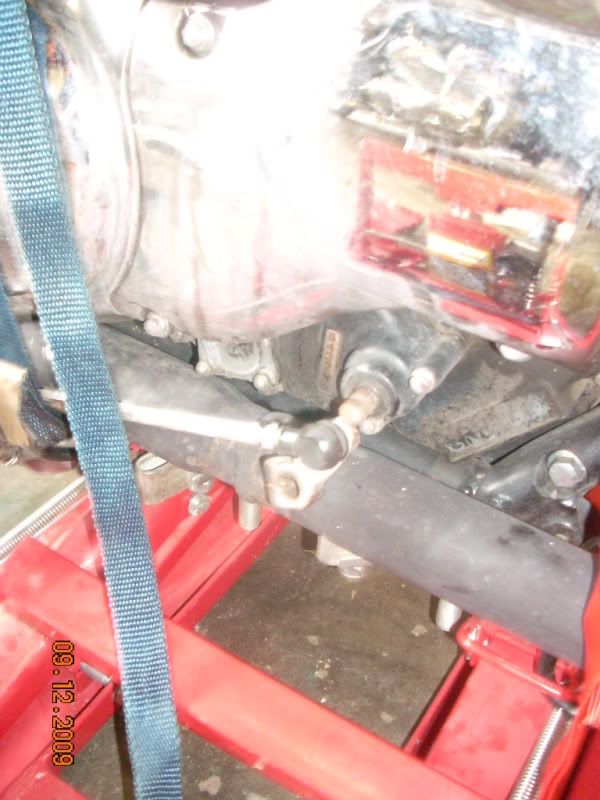
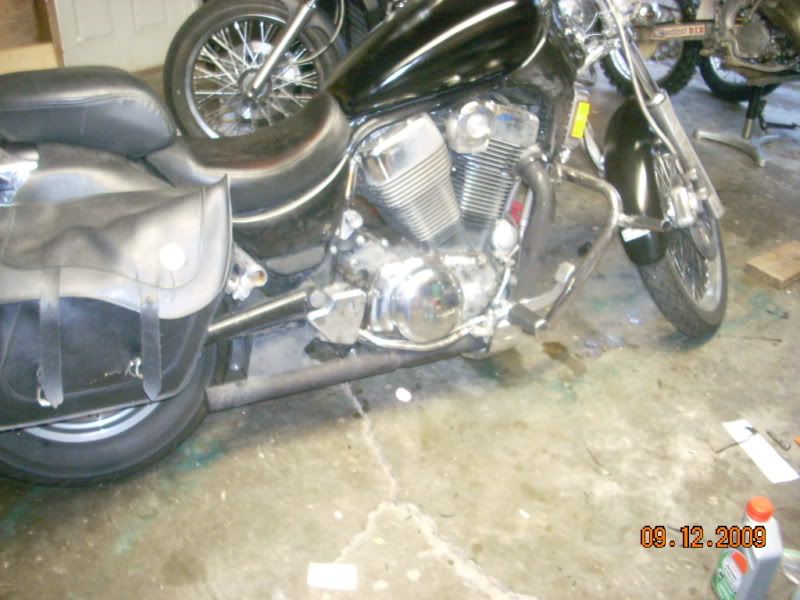
Since the peg/kickstand bracket must come off, the bike has to be supported somehow so I put my new jack to use and went ahead and put the front end in the air. This was my first go around with this, so I did learn a few things. In hindsight, I should have released four of the bracket bolts to begin with. There are four bolts per side in that bracket and it was difficult to get to the rearward two bolts on each side, with the bike on the jack. Looking at the photo below, you can tell what I mean by four bolts per side.
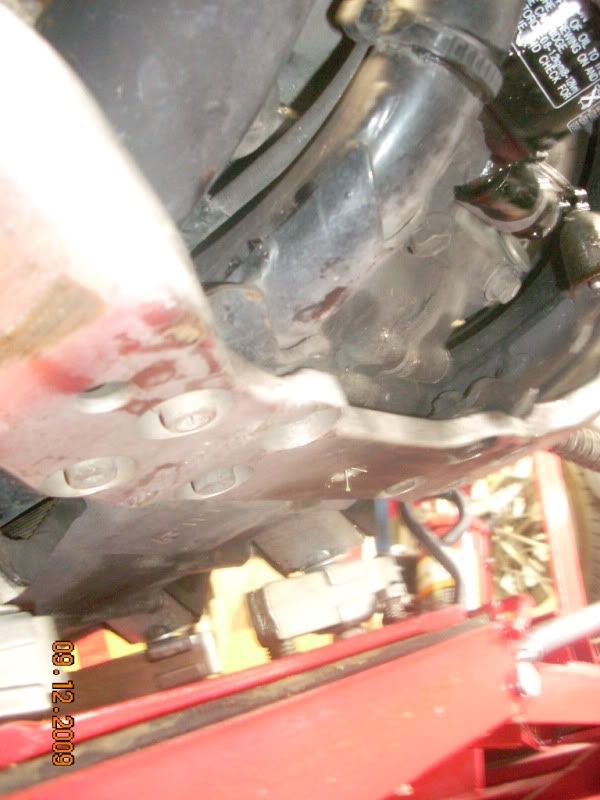
Also, some of the bolts have cotter pins in them, be sure to pull those out as well. If you look close in the picture, you can see where the bolt comes through and has the holes for the cotter pins.
Here is one of the cotter pins pulled...
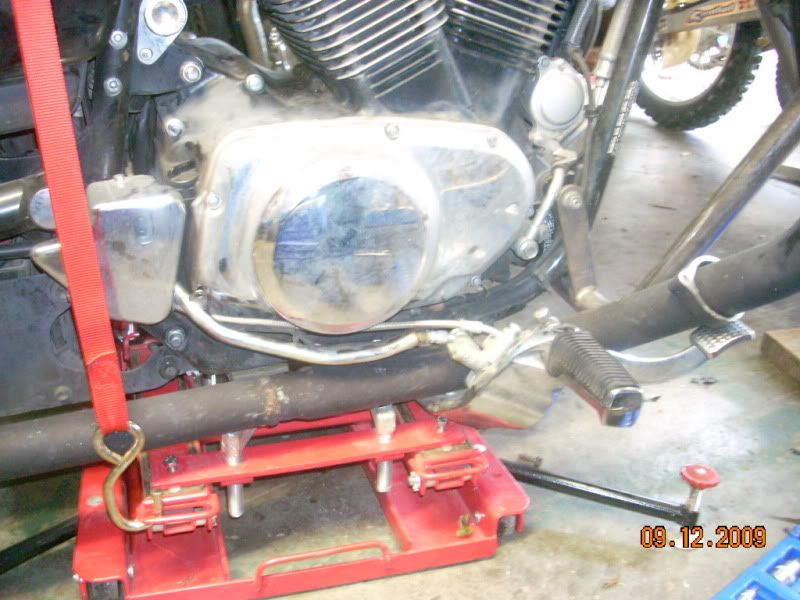
Now, I didnt pull the peg bracket completely out, I just lowered it to gain access to the clutch cover bolts. On the s**ter side, I pulled the 10mm bolt out to remove the shifter linkage from the bike.
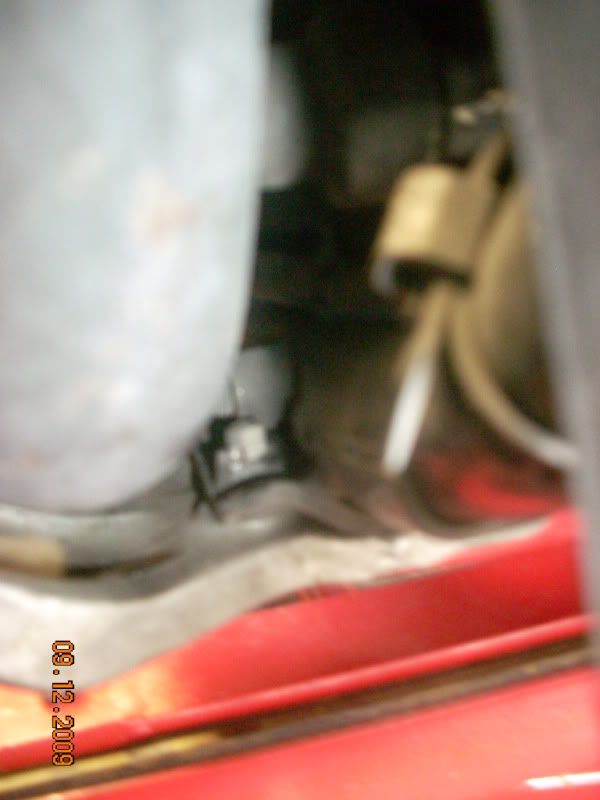
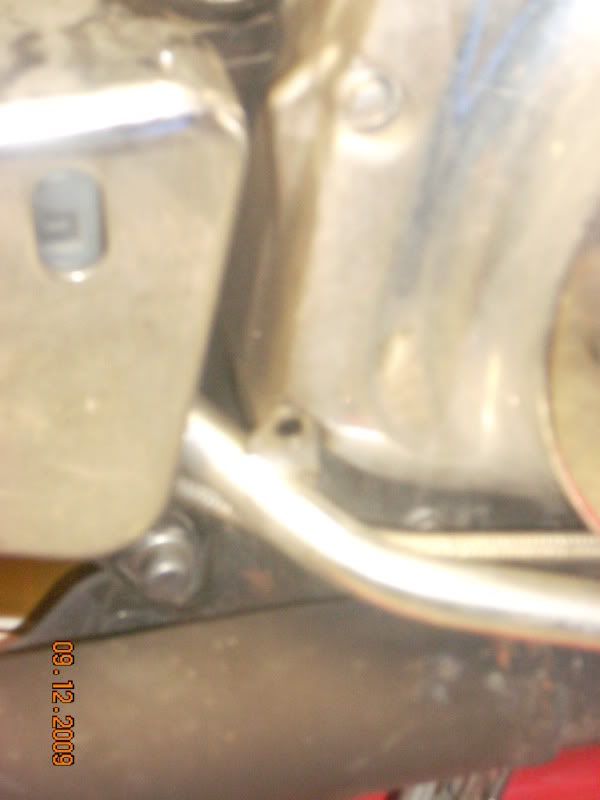
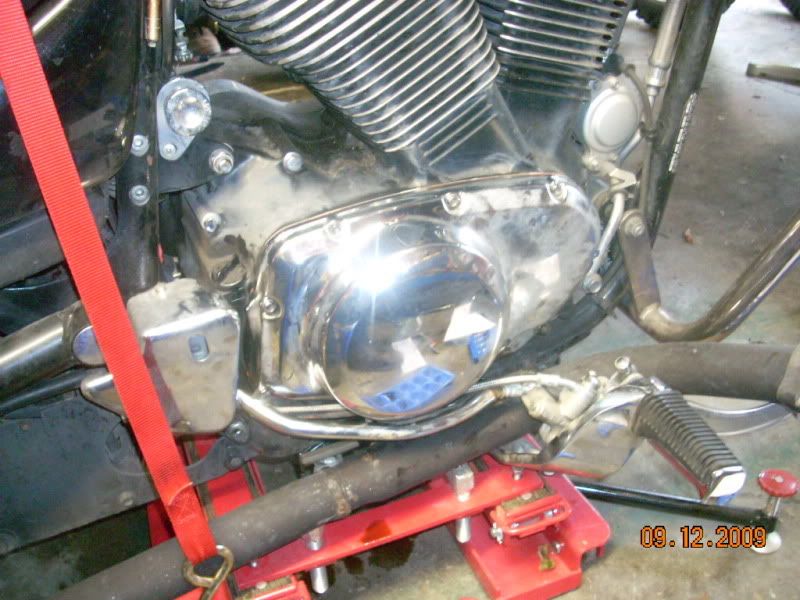
On the clutch cover side, I did have to release the pipes from the front jug. My pipes are one piece, so I just pulled the two bolts from the head and let the pipe lay down. I also removed one bolt from the clutch cover that has the small bracket for the brake line so everything would slide down out of the the way. See photos below
After pulling all of the 8mm bolts from the clutch cover, it pretty well just slid right off. The peg bracket sat just low enough to give me enough clearance. Also keep in mind, a few of the clutch cover bolts are different sizes, it was fairly easy to determine which went where for me, but you may way to mark each one if you think this may give you issues.
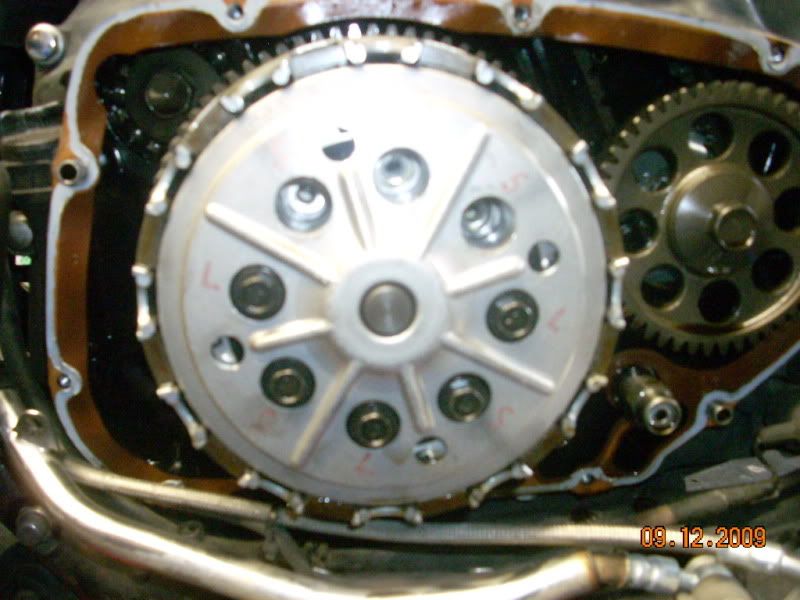
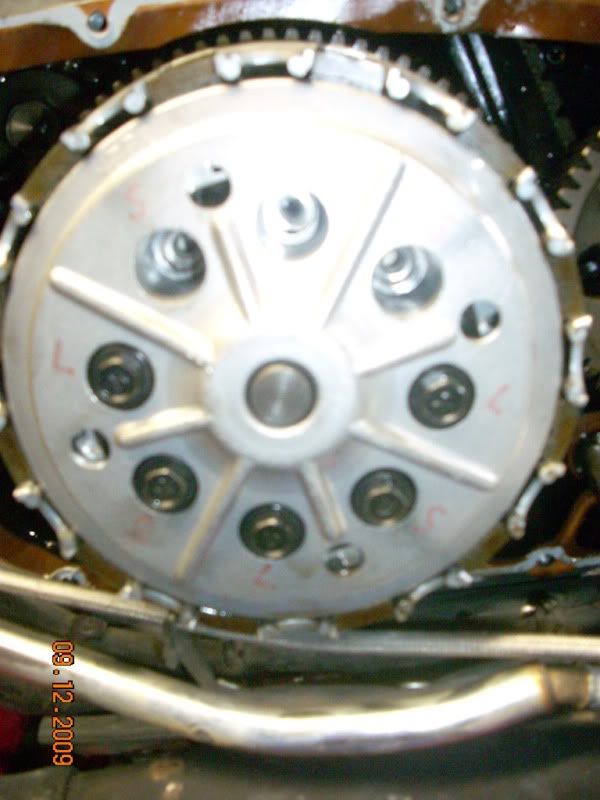
Now, after loosening each of the clutch bolts per the instructions received, it becomes apparent which ones are short and which are long. Once you back each bolt off a few threads, the long ones will retain their tension, while the short ones will have play. This will make sense as you do it.
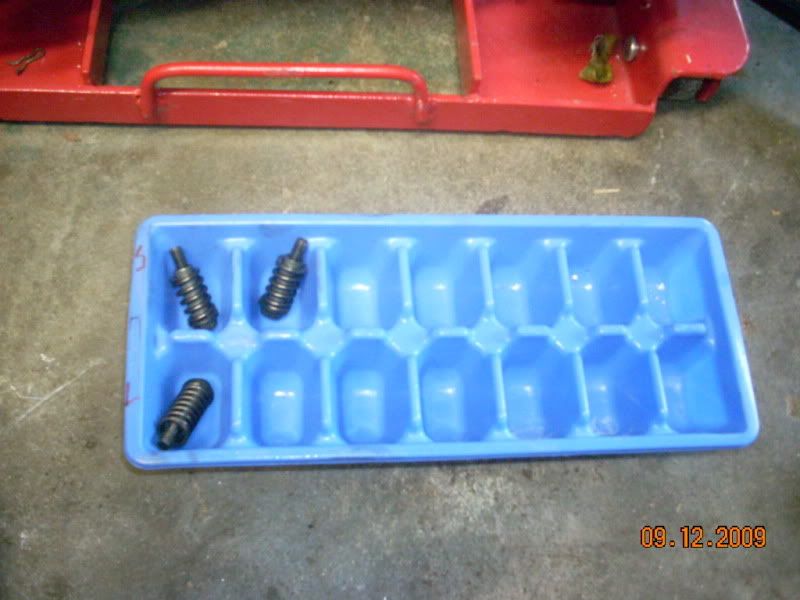
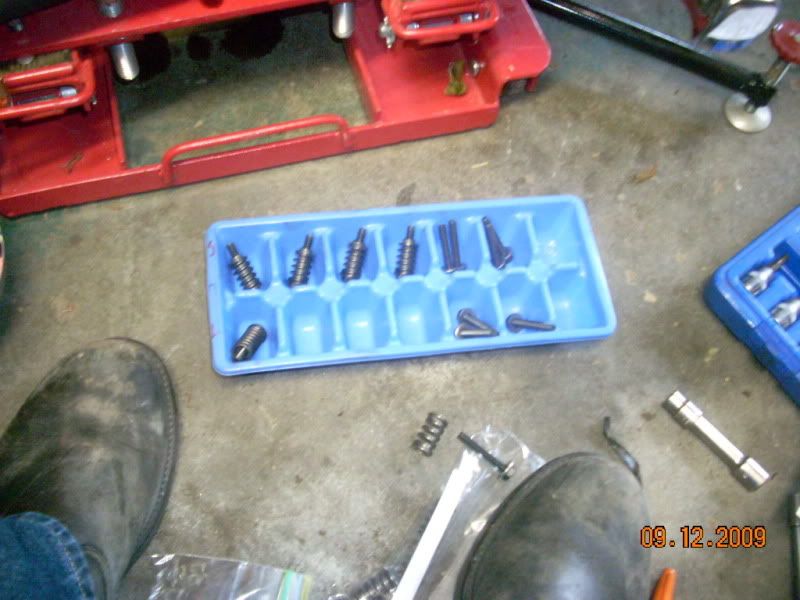
I also used the recomendation from the instructions and used an ice cube tray for organization and used a sharpie to mark and L and S on the clutch to denote which bolt came from where.
At this point, I set up short bolts with washers and long bolts with washers in their appropriate location in the ice cube tray. (this can be seen in the photo above) I then removed only the short bolts from the clutch and installed the new short springs in the clutch. There is a spacer that is in the old bolt/spring that will need to be transfered to the new bolt/spring. The spacer for the short springs are all smooth, while the spacers for the long bolts have a ridge at the bottom. Those long bolt spacers will need to have the ridge facing towards the engine. After hand tightening all of the new short bolts/spring in, I then repeated the process with the long bolts/springs. After all bolts where hand tightened, I then torqued the bolts in per the instructions, 8-9.5 ft lbs.
Clean and install a new clutch cover gasket. In all honesty, I did not do this. My cover gasket stuck to the engine itself and never cracked. I applied a very thin layer of sealant on the cover itself and reinstalled. It seems to be fine at this time. I do have a clutch cover gasket on order though, just in case if it does start leaking.
All reinstallation of peg bracket etc... will be the reverse of above.
Fill the oil up, crack 'er over, make sure you pressure up and an no leaks are seen.
I dont think I left anything out, and there may be better/easier ways to do this, but this is just how I did it. Basically, what I'm trying to say is this is just for reference, dont sue me if you screw it up. :biggthumpup;
Hopefully this might help someone out when they decide to get their new springs. I havent had a chance to give them a good test yet as its been raining here, but just from a test in the garage, clutch lever pressure and engagement are substantially improved. I'm impressed already.
Designer Spring Install
-
Jolsen

- Joined a 1100cc Club
- Posts: 5574
- Joined: Tue Sep 16, 2014 12:34 pm
- My Bike: ZG-XII and VS-XIV
- Moniker: Postmaster
- Location: North Pole
Designer Spring Install


VS1400 Wiring Diagram INFOWARS
Its not my job to prove myself every time I state facts. Its YOUR job to look it up and find out what I say is true.
-
Jolsen
- Joined a 1100cc Club
- Posts: 5574
- Joined: Tue Sep 16, 2014 12:34 pm
- My Bike: ZG-XII and VS-XIV
- Moniker: Postmaster
- Location: North Pole
Re: Designer Spring Install
Travlin wrote:
Yesterday I installed a set of Designer's clutch springs in my '87 1400 and I thought a small write up might be in order.
Let me preface this with the fact that I have been twisting a wrench for longer than I wish to admit. In this time I have become VERY patient and might not go at things in the most obvious ways, but the fastest way in with the least amount of major dismounting.
Drain the oil like you would for an oil change (leaving the filter). I drained it into a clean container to put back in the bike to put a few miles on it to check for leaks. It would be a shame to put new oil in when you are done and have to drain it right back out due to a little oil seepage. This case doesn't leak ever from the factory and should easily be dry when buttoned back up. Doing this will also allow the old filter to pick up anything introduced into the case during this change,although "cleanliness is next to Godliness", slow and meticulous for the win.
My bike has the stock head pipes on it with slip-ons, so keep in mind the exhaust you have may change things just a bit.
First thing is to get the right side head pipe out of the way, I just pulled it straight out of the front of the cross member.
I removed the 2 bolts holding the rear brake reservoir so that I could get the chrome tube that supports the rear brake line out of the way where it mounts under a cover bolt at the rear of the clutch side cover.
I removed the rear brake master cylinder from the cross member. This held simply with 2 bolts on the inside of the bottom of the unit. This is a patience operation but is easily done. Once the bolts are out the bracket they go through slips off the pivot point for the brake pedal and you can pull it back out of the way so the only thing on the inside of the peg mount is the brake pedal. Note there is the return spring attached between the pedal and the peg mount, don't let it come off and not notice.
The cover removal has a couple of things to keep in mind.
1.) There are 4 different lengths of bolts holding it on, keep track of them and their positions how ever you see fit. I actually left them in the cover as I removed it.
2.) There are 2 bolts that have a rubber sealing washer under them. They are at about the 12 o'clock and 4 o'clock positions. If you don't get them in the right place, the cover WILL leak.
3.) When removing the cover with the method I used it is a snug removal getting it off the the clutch and out from behind the brake pedal. It is easy to do without hacking your chrome, just be aware it just doesn't pop off. You can pull the cover out from the case with your left hand to clear the clutch, rotate it up just a bit and then use your common sense and it will "lace" out from behind the pedal. Also note there are 2 locating dowels bottom front and upper-mid rear. Don't lose them, and make sure they go back in.
Ok cover off now, welcome to a part of the 'Truder you will probably never need to see again.
I bought a new gasket ('bout 10 bucks) so peel the gasket off carefully (don't get any crap into the case).
On to the bolts.
You need a 10mm socket that will fit your torque wrench. A direct fit is best, an adaptor for example from a 1/2" to 3/8" will effect your torque setting so no extensions needed.
I did NOT disassemble the clutch, IF you want to replace the disks this is the time to do it, although I heard here somewhere people running clutch plates for many, many miles.
I replaced 1 spring at a time in a criss-cross pattern. When running the new bolt in, take the rachet off and just use the socket and your fingers to run the bolt in. It should be FREE AND SMOOTH. if it is NOT, do NOT crank it in, something is wrong and you will trash your clutch assembly. (not to mention if it comes apart on the road the other damage)
I assembled the bolt, washer, spring, spacer, before I inserted them into the hole, you will have better control of it and less chance of damage.
Once you can't turn it by finger anymore, put on the ratchet and run it in JUST TILL it touches bottom!!!!!!!! I then torqued the bolt to 95 in/lbs. Repeat this in a cross pattern until you have all 8 replaced.
Now reset your torque wrench to around 105 in/lbs and re-torque all the bolts in a criss-cross pattern. DON"T MISS ANY!!
VS1400 Wiring Diagram INFOWARS
Its not my job to prove myself every time I state facts. Its YOUR job to look it up and find out what I say is true.
-
Jolsen
- Joined a 1100cc Club
- Posts: 5574
- Joined: Tue Sep 16, 2014 12:34 pm
- My Bike: ZG-XII and VS-XIV
- Moniker: Postmaster
- Location: North Pole
Re: Designer Spring Install
Travlin wrote:
IMPORTANT NOTE
Each spring has a spacer inside it on the bolt. The short spring/bolt is a straight spacer, dosen't matter which end goes in first. The long spring/bolt spacer has a larger diameter on one end to center the spring better. It should be assembled with the big end toward the center of the engine.
Now take a razor blade and carefully remove any of the old gasket from the case. Use a paper towel or shop rag to cover the top of the clutch and gearing to not get any crap in them while you are doing this. I used a 1"x 3" sharpening stone now and CAREFULLY laid it flat on the case edge and gentle rubbed to remove any tiny gasket pieces and feel for any small nicks on the gasket surface. A little WD40 on a rag to wipe it down finally, and run your finger around that edge to be sure its as smooth a a baby's butt. (be careful, the case edge is quite sharp and if you cut your finger, your fault, not mine :biggrin; )
Run the stone on the edge of the cover to be sure its clean and smooth also.
Take a second and use the corner of a paper towel or shop rag to clean any debris that is hanging around the bottom of the case.
Put the cover back in place (remember the gasket :bonk; ) and run the screws in gently. I did NOT put the wire hangers for the starter lead under the bolts at this time, I want to feel the bolts and the cover "mate up flat", it should without cranking the bolts down. If it feels like it is NOT landing flat and you feel like you have to crank it down to GET it flat. STOP, something is wrong. I work by feel on many things,
Snug all the bolts, take out the ones that hold the wire hangers, and brake like and put them on now. Tighten the bolts up good and snug, and don't break them. THAT would ruin your day.
Before you put the brake cylinder back in, slide the pedal out on the shaft, clean it a bit and put a little grease on it. It should be the last time you have to go there in a long time, might as well lube it while you are there.
Put the brake cylinder back in, grease the cap the goes on the end of the pedal shaft (note the washer between the pedal and the end cap. (look around on the floor now if you don't see it, probably fell off during the dis-assembly, it might be on top of the cross member if it fell off)
Mount the master cylinder , it will take some moving around, jiggling the pedal, patience and dexterity but gives you some time to look around under there to be sure the starter wire is tight to the frame and will NOT touch the head pipe ( REALLY bad news a little later I would think). The wire for the brake light switch has 2 little hangers on the back of the chrome tube for the brake hose to keep it off the pipe. That wire makes really nasty turn to get around the banjo fitting on the cylinder and into the switch, look at it carefully to be sure its ok. Mine has been there for 22 years and is ok still so the tight turn is ok it seems but check it out.
Head pipe back in, with a final look under the clutch cover to be sure no wires are going to die a fiery death on it.
Mount rear brake reservoir if you didn't already.
Check for anything hanging off the bike that I forget to tell you to put back on.
:lolpoint; (Disclaimer) :lolpoint;
REMEMBER TO PUT THE OIL BACK IN THE BIKE!!
The clutch will feel tighter at the lever now then it did, so you need to start using the front brake more so you don't get a Popeye forearm on just your left side, people would laugh at you. :lolfall;
Start the bike and check to see if there is "clutch drag" when you put it into 1st gear. Any air in the system will be much more evident with the stronger push needed from the hydraulics. You might need to bleed it, or replace the fluid in it if you haven't done it for a while because you have NOT had the surprise of your clutch going out in traffic because you HAVEN'T changed it recently.
Now if all is good, put her in the wind. I have heard of some people experiencing tire squeal during premature downshifts with the tight clutch. I think the general consensus is that if you experience that, your are prematurely downshifting. Adjust your riding habits.
:doorag;
Trav
VS1400 Wiring Diagram INFOWARS
Its not my job to prove myself every time I state facts. Its YOUR job to look it up and find out what I say is true.
-
punaise
- Tricycles are Cool
- Posts: 1
- Joined: Fri Jul 15, 2016 4:23 pm
- My Bike: intruder 1400
Re: Designer Spring Install
where can i buy these springs
-
enforcer
- Joined a 650cc Club
- Posts: 1138
- Joined: Wed Feb 03, 2016 7:29 pm
- My Bike: 03 HD FLHT 01 Yamaha XVS650
Re: Designer Spring Install
I direct you to this thread.punaise wrote:where can i buy these springs
http://www.intruders-alert.com/viewtopi ... =10&t=3600
Current rides: 03 HD FLHT & 01 Yamaha XVS650(BIP)
Former: 87 Suzuki VS700, 94 BMW K1100LT & 91 Honda CB250
I don't want to own them all, just ride them all.
Former: 87 Suzuki VS700, 94 BMW K1100LT & 91 Honda CB250
I don't want to own them all, just ride them all.
-
jonnycando
- Joined a 850cc Club
- Posts: 1485
- Joined: Sun Sep 14, 2014 4:45 pm
- My Bike: 1996 Suzuki Intruder
- Location: Roanoke, VA
Re: Designer Spring Install
You did it pretty much the way we all have!  Now tell us how the bike has new found capability!
-
Snappy
- Tricycles are Cool
- Posts: 1
- Joined: Tue Sep 13, 2016 4:50 pm
- My Bike: 91 Suzuki intruder vs1400
Re: Designer Spring Install
Great pictures and info. I am interested in purchasing designer springs for my bike. Where can I buy them? Thanks