Depending on how bad your harness is and if you cant locate a replacement and you have the harness out this is what I would do.grandmalette wrote:Thank you both.
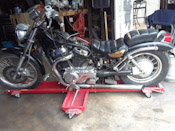
Designer, probably sound advice. But since the bike is stripped down to just a motor and frame there is something i have noticed. The main harness is an issue. However, nearly every component is hardwired and connects to it. Replacement of the main harness is an easy out. But purchasing all the components that connect to it for replanement of the companion connector is a hefty sum. What be your solution for that issue?
Something I have yet to locate for the bike is a set of forward controls. Thus far not easilly located for a vs700. Any ideas/suggestions are welcome.
D&K
Get a peace of plywood the length and width of the harness
Lay the harness on the plywood and on the wood mark each component and secure it to the plywood making sure the harness is a straight as possible.
It helps to remove any tape or looms and warm up the wire. I use a couple finish nails at each connector and pigtail, tapped into the wood. This helps to insure the proper length of wire and secures your project.
If your feeling real ambitious and can get new connectors of the proper type Get a Terminal Removal Tool like this set
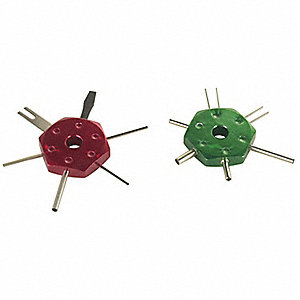
And separate the connectors from the covers. These tools are easy to use if you can identify the proper tip. I have over 70 different types
Or if getting new connection is not an option you can test your current connections and cut the factory wire saving as much of the factory wire as possible. This will help to insure proper diagnostics using the factory diagrams
And use Non-Insulated Butt Connectors with shrink wrap to keep your harness clean. Insulated butt connectors are UGLY and makes your harness look lumpy
I used to cut aluminum modeling tubes before I found these
Something that I learned from my experience repairing Harnesses is to trace the harness and tails and write on the plywood how many wires in that part of the harness and the color codes and what component it plugs into.
And make note of how many of the same color code are in the harness.
Make sure you replace every wire even if you dont know where it goes
you will find that wires connect components and dont show in the main harness they just jump from on component to another If you miss something you will have the wire already in place.
Prep is everything
If your going to relocate a component you will still have a blu print on the plywood. you can remove it for fitting and put it back on the plywood just give your self extra wire for the component your relocating.
And test each circuit as you repair them. Dont assume you have a good connection to only find out you have a bad circuit after you re install it on your bike
Again this depends on what kind of shape your current harness is and how much of the harness you want to save.
Side note
Some here solder I myself am not a big fan of soldering wire harness's. To much vibration and the soldering process, the acid wiks up the wire,makes the wire brittle at the connector.
But thats your call
Wish you the best of luck hope you get your project running well and have no electrical fires
And welcome to the boards